
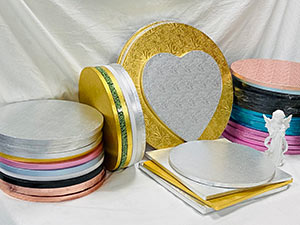
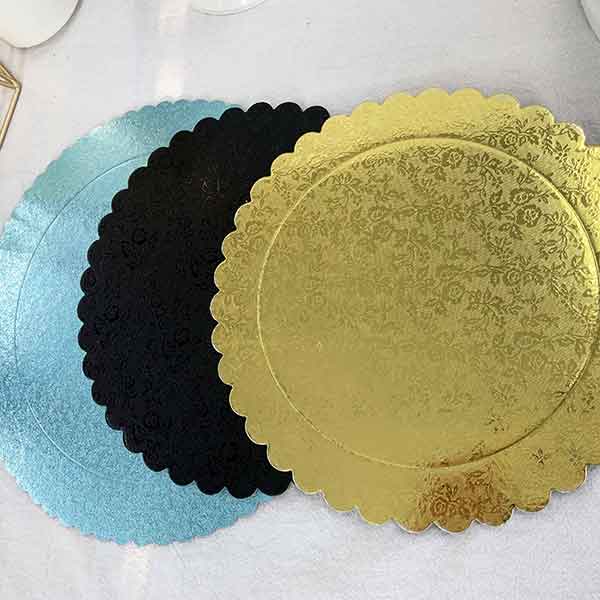
Some friends have seen how to make a cake drum on YouTube. Most of them used a ready-made 3mm corrugated cake board to DIY. They use these finished corrugated cake boards and glue them together, which is equal to adding more costs to the cost of finished cake drum, so if the funds are abundant, it is more cost-effective to recommend buying the finished products.
When it comes to how we make the cake drum, it's actually pretty much the same as the YouTube shown. But we will make them more delicate and more varied according to the customer’s different needs.
Buy the materials before making them.
There are many raw materials on the market now, and the quality is uneven, so there are often few suppliers that can supply good quality and suitable prices. Thus, at the beginning, we also spent a lot of time selecting suppliers and ending those with low cost performance. Finally, we selected several suitable and stable suppliers and have been cooperating with them. In addition to suppliers, we will face MOQ requirements. It was really a big difficulty when we started this business, so it's really hard to come by now.
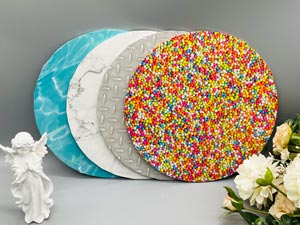
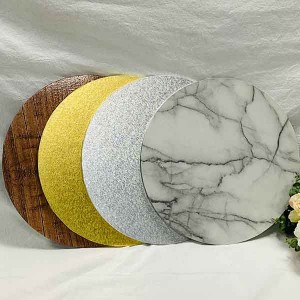
The market requires a MOQ of at least 500 meters. For example, if you make a 10-inch round cake drum with a wrapped edge, you can make 3400 pieces. However, different shapes and different practices can be used for cake drums. The materials are also different. So I think that our 500pcs per size is really quite affordable. Definitely, 500pcs per size MOQ is for the regular styles. If you need a special one, the MOQ will be added to 3000pcs or depends on the real situation, and sometimes we can share the material with other customers if they order the same style.
Cut the material
After the materials are returned to the factory, we also need to cut the materials into the size of the cake drum that needs to be made, face paper, bottom paper, corrugated board and the paper used to wrap the edge, etc. If it's a smooth edge cake drum, we'll have an extra piece of paper to cover the edge.
Cutting material, you need to use different mould. It's also a big expense for us, so sometimes meet some requirements that need special size or special practice. We really also have a headache, so we will try to persuade customers to take the style and size that we often do, which not only can save a lot of time but also can save a lot of cost.
Besides, if we change the size, we need to debug the machine, which takes about 2-3 hours, even to a half a day for a special style. This can understand the reason the more the qty the favorable the price, because if you cut 3,000pcs boards, but actually it’s the same time to cut 10000pcs boards to debug the machine, the time is not proportional to the harvest. I think no wise man would do such a thankless job.
Paste the corrugated board
What is the first step?
- First of all, you need to stick the 2pcs 3mm corrugated board into 1pcs 12mm corrugated board well, and then use the wrapping paper to fix the edge. This step is very important. If there is no such step, the cake drum is easy to flatten. As for the smooth edge cake drum, we need to stick the extra wrapped paper which can make the edge smoother.
- Secondly, we come to stick to the top and bottom. Our conventional practice is to stick the top paper, and then paste the bottom paper for wrapped edge cake drum, whereas you can paste it on either side first for smooth edge cake drum.
- To better learn about how to make the cake drum, I have been to the workshop to experience the pasting materials in the past few days, and found that it is indeed a technical task. If it is slightly misaligned, the top paper or the bottom will exceed the edge of the cake drum, which will not look good, and waste the material, so it takes time and patience to make a perfect cake drum, which is the same as making cakes.
Dehumidify the cake drum
This is also a very important step before the finished product. Generally, we need to put the cake drum into the dehumidifying room for about 3-5 days according to the quantity of the goods. Without this step, the cake drum will be very easy to get moldy, and the feeling of holding it in your hand is also wet. If you have a cake drum on hand, you can try to tap the board, and the sound of the cake drum after dehumidifier will be crisper than the non-moistened cake drum. If you're making your own DIY cake drum at home, you might use the dryer to dry the cake drum to see the effects.
Also to the above-mentioned production process, there are some small skills in production, such as the three-point positioning method when pasting which can help to stick the paper on the board more quickly and accurately; after the cardboard is pasted, it is best to press it with a heavy object, so that the glue and the corrugated board can be more bonded. If you are also interested in these tips, we can also talk about it in another article.
Through this article, you should have more understanding about our products. The purpose of writing this article is out of the interpretation of the craft of cake drum. You also want to express the story behind the finished goods. Nothing is easy, the person who wants to get a perfect thing, must need enough effort. Luckily, the cake drum we can do with our own effort, so if you want to make your own, for fun, you can give it a try. If you need more, please check our homepage to get the product.
Related Products

Post time: Aug-05-2022